Jornadas de historia "Huellas en el presente" - Segundo día

Los días 13 y 14 de julio de 2018 se celebraron en Aguarón unas Jornadas de divulgación cultural sobre la Historia y Patrimonio Cultural de la localidad. Organizadas por la Asociación de Mujeres Algairén, con el apoyo del Ayuntamiento de Aguarón y la colaboración de Acrótera.


Visita comentada de la judería de Aguarón

Durante la segunda jornada abordamos la historia de los judíos en Aguarón. Tuvimos el placer de escuchar al profesor Miguel Ángel Motis, que habló sobre la vida cotidiana de los judíos del Campo de Cariñena durante la Baja Edad Media.

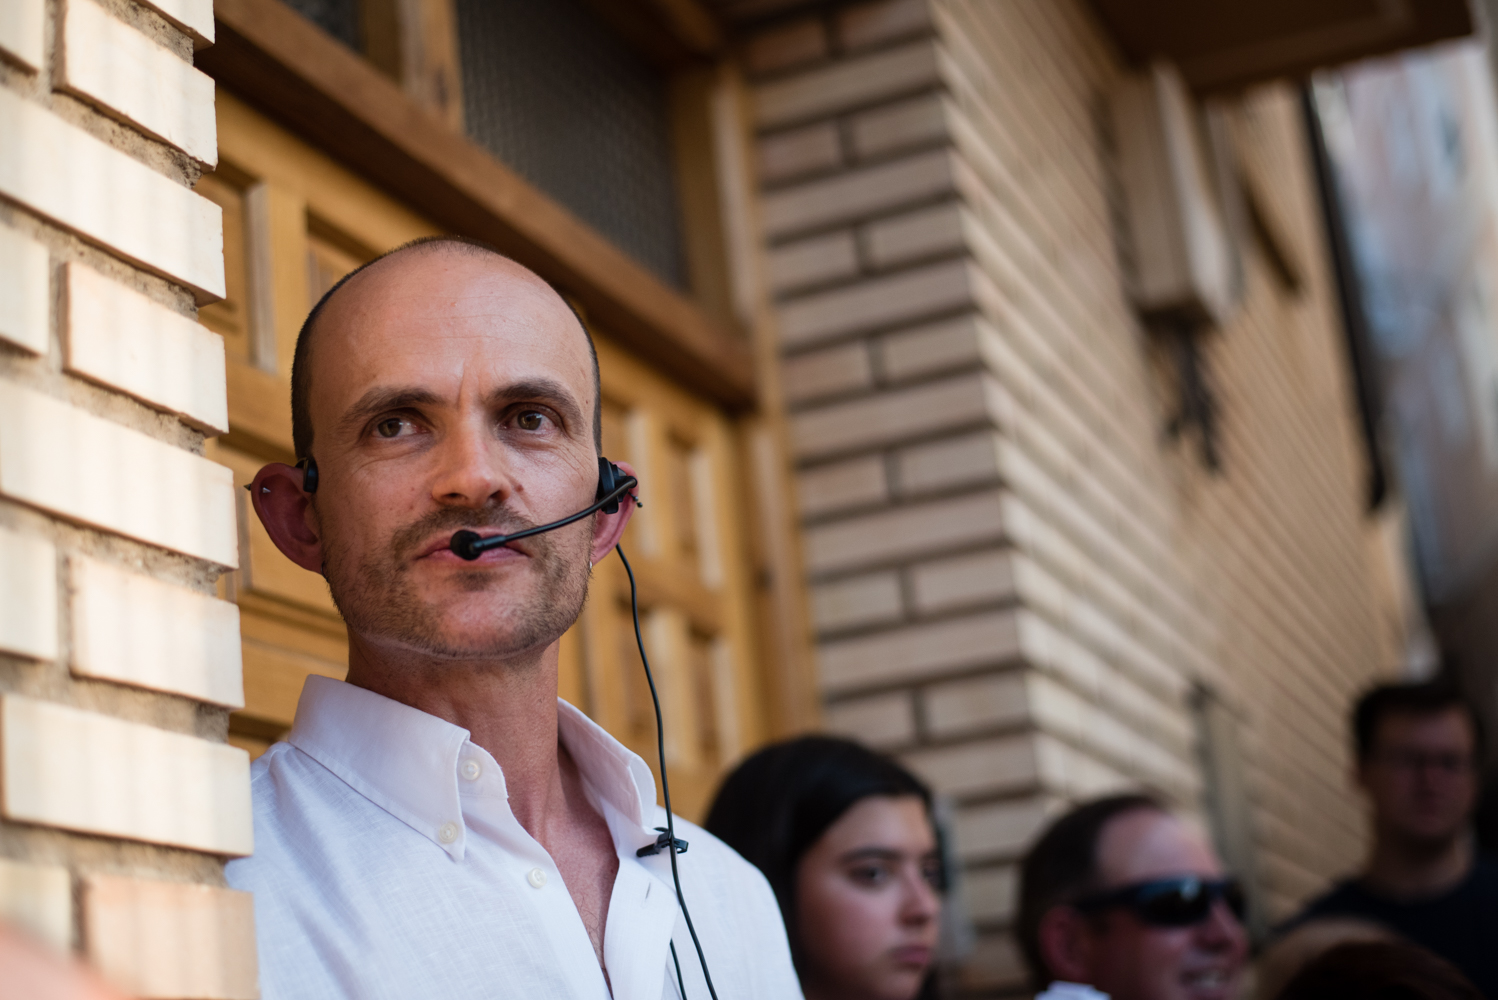
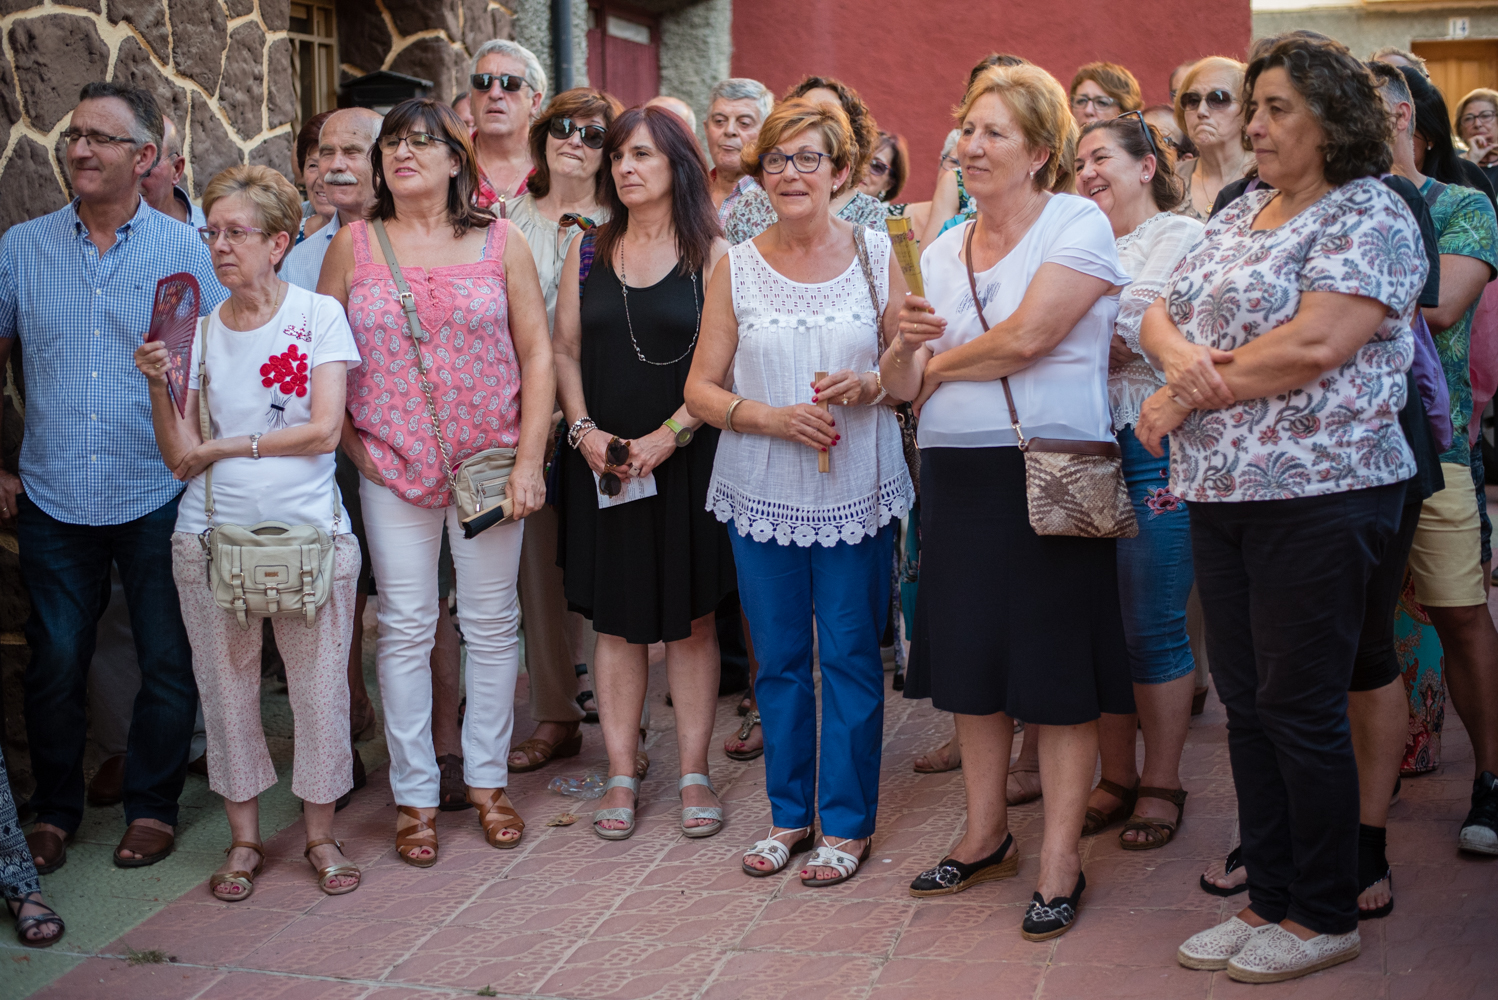
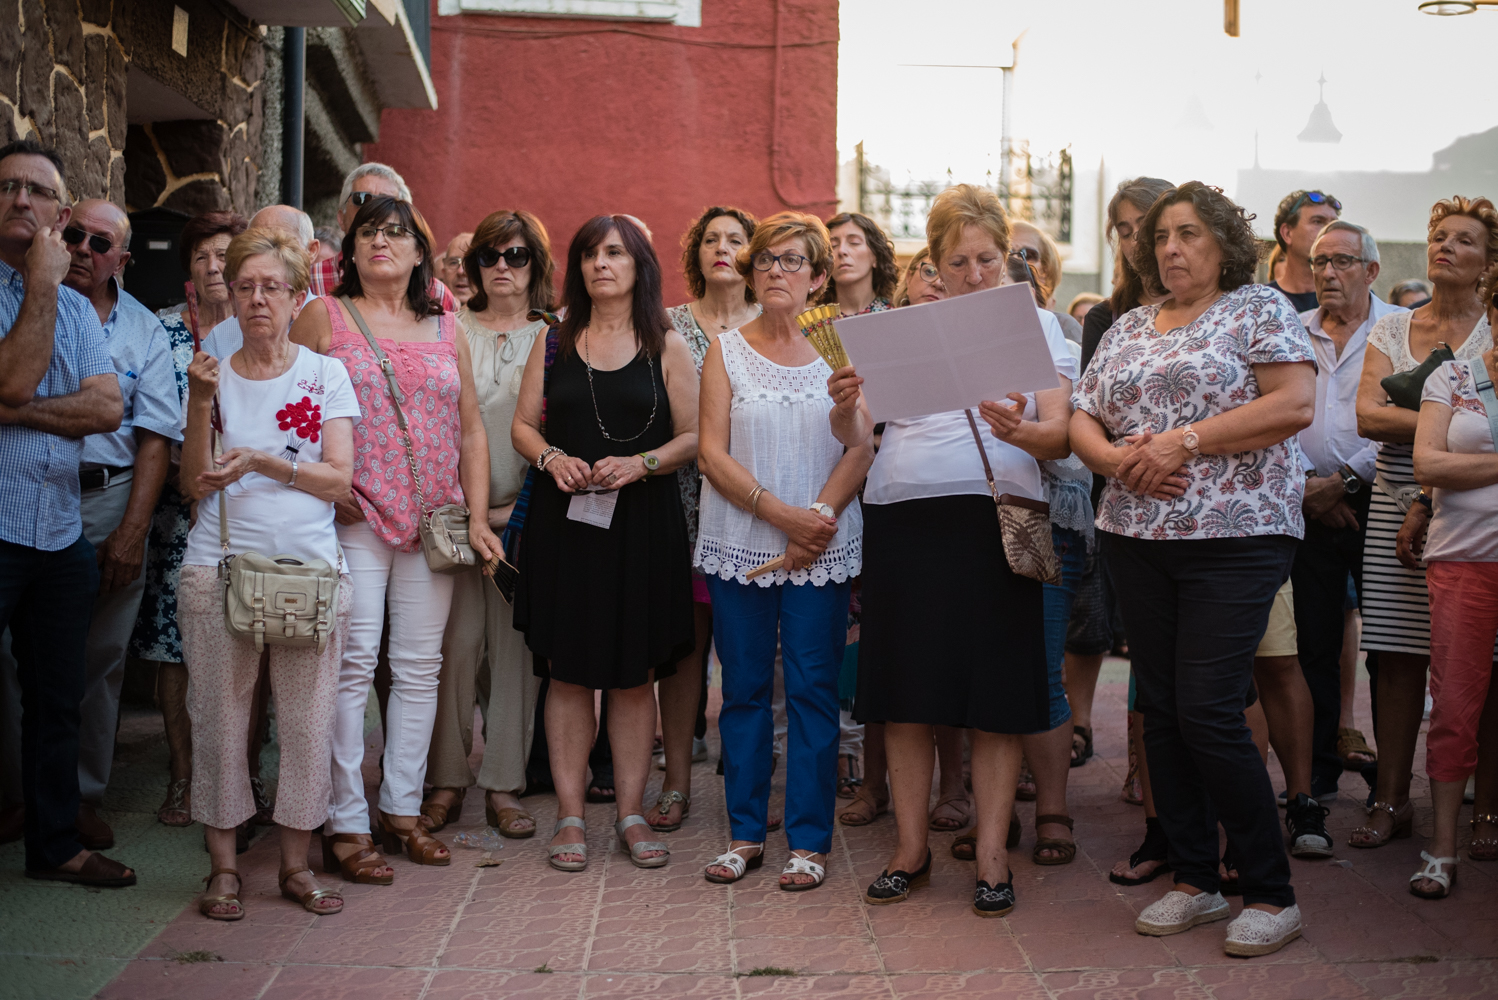
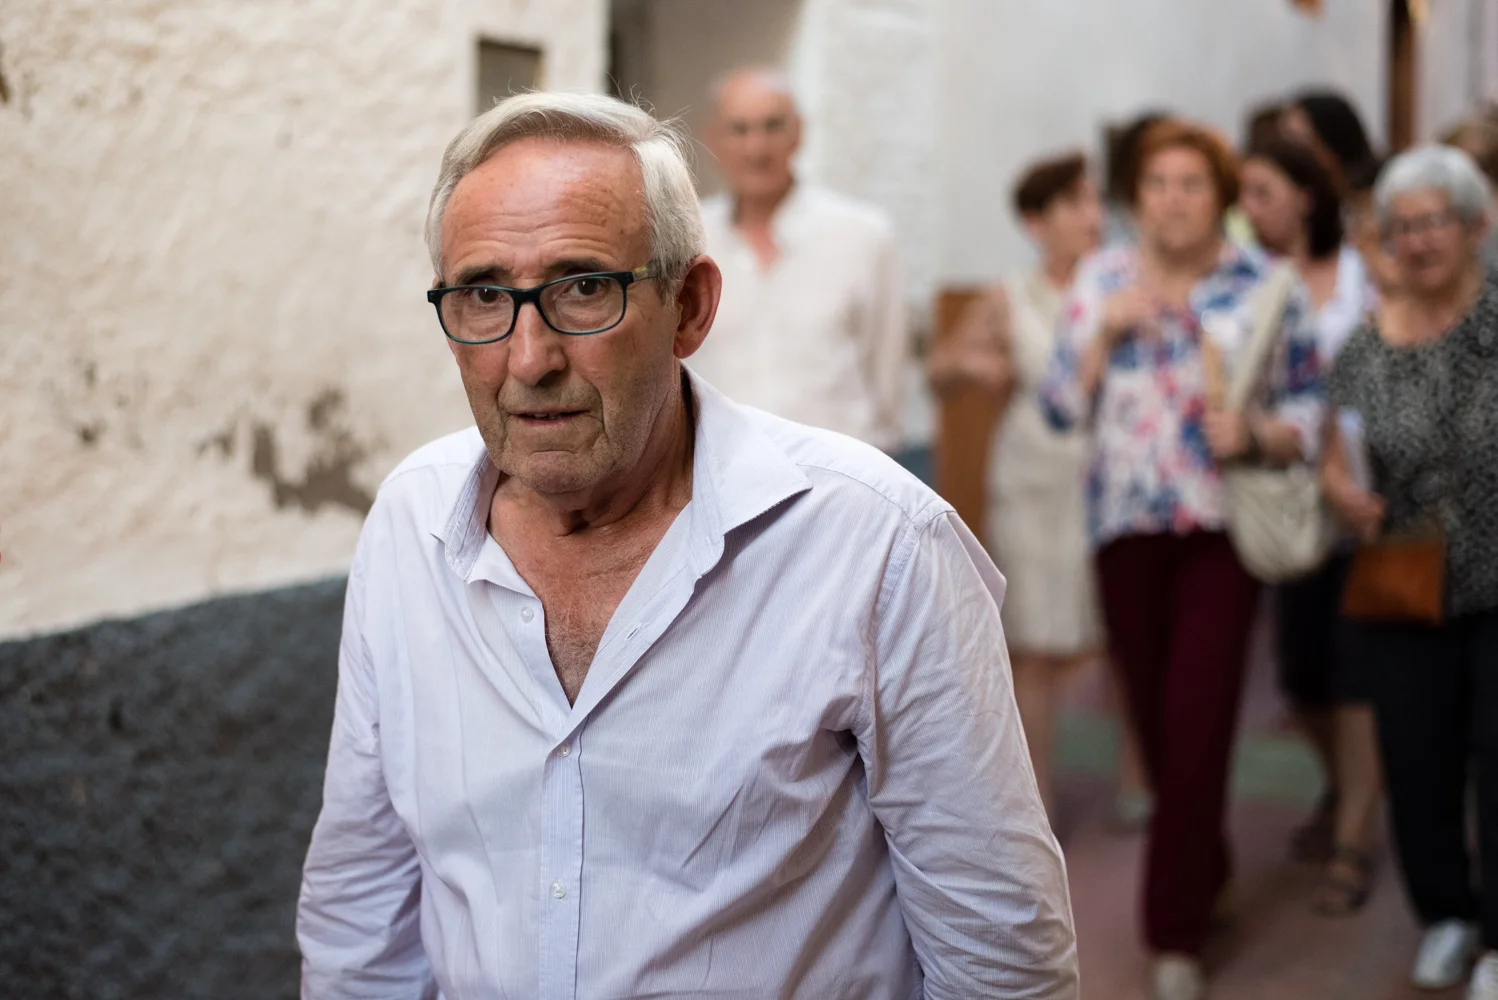
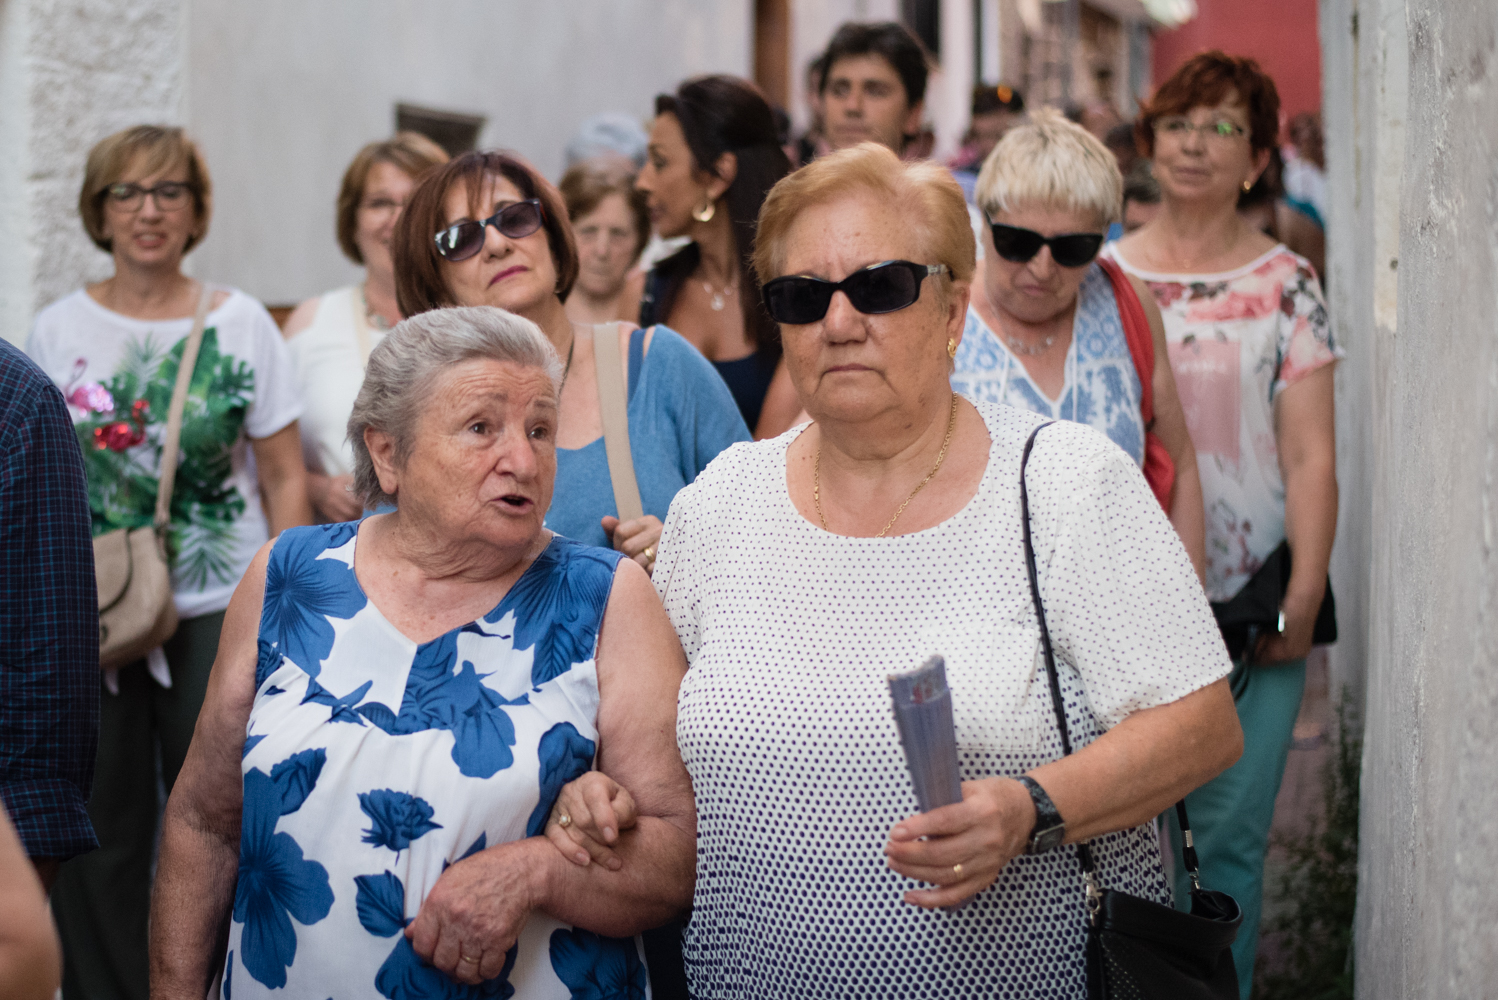
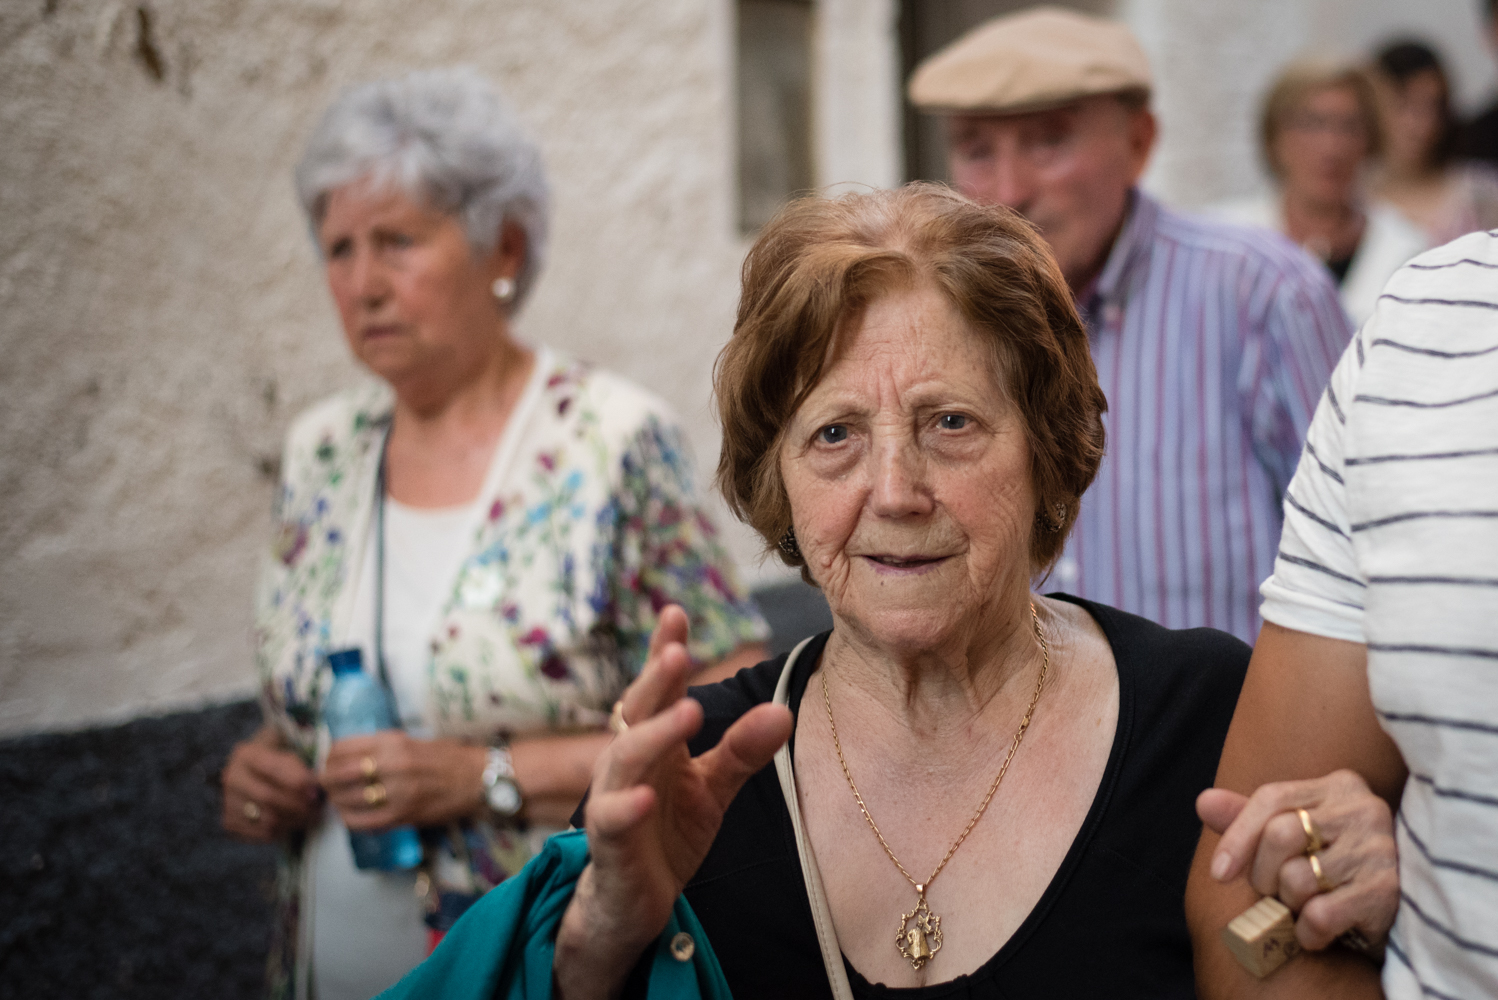
Después de su interesantísima presentación, hicimos una visita comentada por la antigua judería de Aguarón, de la mano de Antonio Hernandez.

A pesar de haber pasado 550 años, las calles y las casas de nuestros pueblos guardan, sin saberlo, testimonios físicos de sus antiguos habitantes.

Aquí podéis ver las fotos de la visita comentada a la judería. Poco a poco, iré añadiendo fotos de los otros eventos de las jornadas.

Polaroid 100 camera packs

Wow... I knew it had been a really long time since I posted anything... but two years! I never promised frequency, but this is way too long time! 

Anyway, these days I have been a lot more active in terms of taking photos. And now even video! (Not very good at it yet, but hey, you've gotta start somewhere). 

Connecting both topics, I have published my very first video in youtube. Does it make me a vlogger? Doubt it! But at least it was a step, in terms of exposing myself and my video making skills. 

What was the occasion? A crisis.

Crises are sometimes great motivation...

My Polaroid 360 camera (type 100) got completely stuck when a white tab broke with the image still inside. Since we could not find much information on how to fix it or even how the film packs actually work, we decided to make a short video explaining it. I hope it helps someone out there!

Now you know the inner works of Polaroid Land camera film packs and how to save a problematic pack, where the white tab has ripped off.

Here you have the link to the video:

Scratching the surface - Photographic exhibition

During May and June, I am having a photo exhibition in Makkè Kafe, downtown Copenhagen. It is the first time I have an exhibition on my own, and I am quite nervous and exited about it!

The opening party is on May 7th, from 7pm. There will be some snacks on the tables, and wine and beer for purchase at the bar.

You are all invited!!

Ready for this weekend's Flid Marked

It has been a long hard preparation, but it seems we are ready for tomorrow!

For those who do not know what I am talking about, tomorrow and the day after (12 and 13 of December), I will have a stand together with the CCCP at the Flid Maked. Flid is a design market that tries to promote local artists, designers and hand workers.  It runs a few times a year, and this time we are part of the Christmas edition!

I have just finished placing my passepartouts and frames in the boxes, the last thing to finally be able to conclude: "Yeah! I made it!! We made it"

As I said, it has been a lot of hard work for all of us. We have done everything ourselves: of course taking the photos, but also editing, paper choosing, testing, printing, framing and passepartouts, and all the incredible load of logistics that comes with the organisation of an event like this, and that we had no idea about when we started.

But oh, yes! We had lots of fun, a bit of wine and tapas, and learned an amazing amount of things.

Here a glimpse of what it has been like:

Hey! If you ever try to do anything like this, feel free to write me and I can try to guide you!

Hope to see you all this weekend at Flid!

And thanks for everybody that has been supporting us from the trenches these days!! :)

Printer to human relationship

How I feel after an entire evening re-configuring the machine, trying different papers, installing new icc profiles, fixing a crazy Lightroom page size issue, and overall fight with my printer, in an attempt for finding the best results for the prints that we will be selling at Flid.

Polaroid wedding - Berta and Paco

Preparing for delivery the pictures from another wedding, I found these polaroids that I took from the marriage of Berta and Paco. Berta and I are friends from our very early childhood, and her wedding day was very special to me. Needless to say that the newlyweds looked astonishing! Such a beautiful happy couple!!


Hasselblad XPan test roll

A few months ago I bought a Hasselblad XPan again, after many many months of missing it, thinking I should have never sold it. 

First things first, I went outside and used a roll to test my new machine. I saw the camera was working properly shortly after, but only on my light table, so I could not share my joy. But today I can! I sent the film for scanning and I just got the scanned images.

Perhaps because I know this city too well, I find it difficult to take panoramas here in Copenhagen. However, I still believe I got some decent shots. 

Take a look!  (Click to enlarge)


A stuck Polaroid, in the middle of a wedding project

This is one more Polaroid lessons learned post: 

1. Never do an important project with only one Polaroid camera, especially if at the time you do not have internet access - The camera may break or get stuck

2. Always bring with you (or do not throw away, like I did) an empty cartridge and a dark slide - You may need it for testing and resetting

3. If your film packs are not fresh, forget it - Plan in advance, the risk is too high

Last weekend two good friends of mine got married, and I wanted to take some pictures of them and some of the guests as a special project, which was supposed to turn into a special wedding gift for the couple.

Stress and lack of light stories behind, I managed to take some very good pictures of the couple. I will post those in a separate post once I return to Denmark after my vacation. However, I did not manage to get a single decent picture of the guests.

First, I did not have more fresh packs of B&W film. S***! The pictures did not have any contrast, and had development path marks (i.e., vertical stripes) , which I hate so much -especially when I am not trying to get artistic!-.

Secondly (and finally), when I immediately changed the pack, the mirror of my SX-70 got stuck. The first image had a weird black line at the bottom. Then the mirror got stuck up, meaning I could only see "black" through the viewfinder. Another symptom was that the camera did not close properly, as you can see below. 

I have seen many Polaroid problems before, but never this one, so I thought the camera had broken down. Without internet connection on my phone and as the lighting conditions started being poor, I stopped trying for the day. Besides, I had thrown away the older empty pack, because our table started looking quite messy!

Once at home, after googling the problem a bit, and being already ready to perform an open heart surgery on my camera, I learned that this is quite a typical problem that has an easy fix. I share here the links to the pages that helped me so much, in case you want to know more about it:

Basically, after 5 min of troubleshooting (meaning, I removed the pack, put a empty one, and tried shutting a bit), my camera was up and running again. Although unfortunately, the magical and beautiful wedding moment has long passed. Oh, Polaroid life! ;)


First experiments with Impossible Color SX-70 Generation 2.0 film

A few weeks ago I got hold of a few packs of the new Impossible Color SX-70 Generation 2.0 film, as part of the Pioneer program. Life is busy and days pass fast, so it has taken me a while to finally try it.

Overall, I think the film does make a difference. Not only develops faster and you do not need to cover it, but the colors are more sharp. And the most important for me, the transitions between color shades and between highlights and shadows are much more smooth. 

That being said, my favourite SX-70 camera does seem to overexpose the pictures. I have known from the beginning, but I have been unable to determine whether it is the film that is not accurate, or the camera behaves funny when it comes to measure the light. The fix is easy: turn the exposure wheel a little bit towards the black part, but as this was an experiment, I decided to leave it in neutral. Therefore, I suspect my second pack will be richer in color and expression, when the images are better exposed. 

Here the results:

Portrait of Hjalte, who nicely and patiently came with me around Copenhagen trying to find a few good spots to photograph. The picture is a little over-exposed, like the other two portraits in the series. I am sure that by adjusting the camera, the images will me much more rich in color and transitions.

Georgios and Vangelis were visiting Denmark that day, so of course I took the opportunity to take a few portraits of them.

I love how these two images pair up. They are not perfect, but to my eyes they are just fantastic.

Postcards from the USA

Last week I travelled to the US for work. Luckily not everything is hard labor, there is always room for fun. Teams and colleagues are simply great. 

This time I brought my SX-70 and a couple of Impossible Film Packs again, which got to see the day light at two occasions. First, on a wonderful spring Sunday in Saint Louis, trying to be as much touristy as possible. And then during a break from our workshops in the Frankinton office. 

First stop: Saint Louis

One of my favourite places in Saint Louis is, no doubt, the Arch. Designed in the 40's and built in the 60's to celebrate the westward expansion of the United States, it is an astonishing monument that feels so modern that it could have been built today. And I can not stop looking at it. We walked around it, and we walked under it, admiring it from the Mississippi river, from the city center, and from the fresh and comforting grass. The shape, its hight, its light yet very grounded construction..

If I think about it, it is probably one of my favourite monuments in the world. If you visit Saint Louis, plan for some time in the area, and look at it as the light of the day and the city changes. If you can, take one of the tiny capsule-elevators all the claustrophobic way up to the top, and enjoy the view!

Second stop: Frankinton

Going from Saint Louis to Raleigh is somehow a big change that creeps up on you. Not only the landscape changes, but also the constructions. From stone and coloured glass, to more traditional wooden buildings. Even the typography and style of business signs! 

Sadly, we did not have much spare time to hang around. But I managed to capture a sibling picture of a polaroid I took three years ago, during my first trip to our main American site. Which one is the new one and which one is the old one?


When your Polaroid camera leaves you in the lurch

This is one of the greatest fears you may have as a Polaroid photographer. You feel it in the air. You know it can happen, that is a risk, that, most likely, it will happen one day. Your camera suddenly lets you down. 

There are several ways this may materialize. Most commonly, the pack gets stuck when you have no chance to fix it, or when you do not have other pack. For instance, you are using Fuji Instant film in a Polaroid 100 type machine, and when you are pulling your frame out... the tab tears off. If you are lucky or see it coming, you may still have a little piece of paper that can help you save the moment, carefully. Otherwise, find a dark place, open the back, and reinstall the pack. Usually after wasting one or two frames. Similarly, you may be unlucky to get an "sticky" Impossible film pack -although I must say it has not happened to me in a really long time-.

Another classic in my list is simply plainly when you camera dies in action. This is such a painful situation that is hard to describe how it feels. But yes, it does occur, without previous warning.

But today, it was something I have never seen before. The chemicals were so old in an expired Polaroid Sepia pack, that only the negative and part of the tab came out. Yep. Leaving the positive, the rest of the tab, and an interesting amount of crap behind. That is, inside the camera. 

I promise I would have been mad if it wasn't because I found it fascinating. And again, I did not expect it. I did not even know this could happen. I was lucky enough to get problems with the last frame of the pack. But that was a pack that gave me 8 perfect images, one commonly half dry, and just at the end, the bitter one!

Mysteries of Polaroid life.

Today, only the negative and part of the tab came out while taking a picture with old expired Polaroid Sepia film. The positive remained inside the camera, together with dry chemicals made powder. Never seen this before.

Today, only the negative and part of the tab came out while taking a picture with old expired Polaroid Sepia film. The positive remained inside the camera, together with dry chemicals made powder. Never seen this before.

Printing with your Epson SC-P600 - Part 1, Print workflow in Lightroom

A few days ago I explained how to install and configure you Epson SC-P600 to be used in Mac OS with Lightroom. Today, I will talk about how to print. 

Printing is not difficult per se, but it can be a bit intricate if you want to be very accurate. I will not touch topics such as color correction, spaces and calibration. That is an advanced topic and to be completely honest with you, I am not there yet. And I am not sure I will ever be. I take mostly film and polaroids, and I adjust my pictures by pure instinct. Therefore, I pay little attention to the picture being a little too pink or a little too green or a little too pale. I just leave the print to rest for a few days, and I look a it again when I have forgotten how it looked on the screen. If I like it by then, check! I am happy. Otherwise, I consider where it failed. And most of the times, the problem is not the color not being accurate enough, I am afraid.

But this is what I know, what I learned since I bought the printer, in two sections:

  1. The printing workflow in Lightroom
  2. Considerations

Print workflow in Lightroom

While I consider Lightroom to be very intuitive for the most part, the Print module is, let's put it nicely, fallen behind. There are several places where you need to set the right configuration, otherwise something will go wrong. And believe me, then the print is not just a little too pink! This is how I do it:

One. Configure picture (or pictures) layout and select paper size under Page Setup

I always make sure the right size of paper is selected first, under "Page Setup". I may eventually change the type of paper, for instance, if I decide to try a fine art paper instead of a regular photo paper, but at least I want to make sure that whatever I configure is on the basis of the right paper size and whether it should be borderless or not. 

Also, pay attention to the different options for paper loading: Sheet Feeder for most photographic papers, and Front for usually fine art paper. 

Print page setup.jpg
 

After that, I choose how the image should look printed on the paper. Here is where you can get truly creative. Two images in one paper looks quite cool if they are related. Also one with wide margins. Or the classical full page print. Perhaps I will write an article about this another day.

For this article, I will show this example:

Print page layout.jpg


Two. Select and setup the paper type.

There are a few things to remember in this step. 

First, make sure the correct paper type is selected under "Page Setup" following the steps above. Notice if you change the paper, for instance, from A4 to A4 Borderless, the layout for the image may change and you will have to adjust it again.

And second, adjust the "Print Settings"

  • Layout: One page per sheet, no border
  • Color Matching: It should be greyed out, being ColorSync selected
  • Paper Handling: I never print more than one picture at the time, so I do not worry about this part
  • Cover Page: None
  • Print settings: Here you need to select the correct Media Type, that matches the paper you are using, including the Print Quality. See notes on Media Type below.
 
  • Paper Layout Settings: Nothing to configure here, unless you use roll paper, I guess
  • Paper Configuration: I would not know what you configure here

Three. Setup the Print Job.

We are almost printing now! But before you can press print, you need to setup the Print Job. This means you need to tell Lightroom you want to print to a printer (you could also print to jpg).

Besides that, you need to configure the Print Sharpening settings according to the Media Type. Here I leave it to Low for Matte paper.

Finally, you need to choose the right ICC profile under Color Management. This is very important, otherwise, Lightroom will mess up the colors. Now, whether the Indent should be Perceptual or Relative.. I have read several articles and I am still not clear. Take your pick. Try and error.


If you click on "Printer.." you will see the same dialog as you already configured in step number Two. Take a look.

And four. Print!

Load your printer with the right paper in the right place. And press Print! You beautiful picture is being created! 


Plans for Easter vacation

This year we are not travelling anywhere for Easter. Instead, we are going to use the time to get done a few of those things that we always say we want to do. In my case, it is mostly related about photography. 

I have never been very consistent with my photographs. Rolls, polaroids and raw files tend to accumulate in the same messy way, regardless of whether the are digital or physical. This has been particularly bad during the last two years. But I am determined to change that. 

So this is my ambitions TO-DO list for Easter:

  • Setup and configure the new iMac

  • Migrate and organise files, creating proper backup workflows

  • Develop old rolls and organise the film in folders

  • Scan polaroids and organise them

  • Re-design my own website! A new look, new portfolio, fresh information

  • Write at least a couple of articles in the blog

  • Upload nice pictures that I find along the way to flickr

  • Print some of those nice pictures - need to experiment more with the printer!

  • Understand color spaces and color profiles: my color pictures are still a little bit off

  • If the weather is nice, go out and take new pictures!

Keep you posted!

Even my fridge would benefit for a bit more of order...

Even my fridge would benefit for a bit more of order...

Install and configure your Epson SC-P600 printer in your Mac to use in combination with Lightroom

It may be strange to start a photography blog talking about setting up a printer, but I guess any excuse is a good excuse to get started. And the truth is that setting up my new Epson SC-P600 printer has been quite some work, so I want to believe this article may help other people.

In my first attempt, I tried to follow the installation steps on the Epson installation website for Mac OS. Mixing it up with some manually downloaded drivers from Epson’s website. Who knows who’s fault it is, but it all went wrong. For instance, I could not install the right ICC profiles because it showed several printers and a few subfolders - so impossible to know which ones to choose. In my second attempt, I managed to get it right, after a few configurations back and forths.  Let me explain how I think you should make it to get it right.

Number one, read the information provided by Keith Cooper here http://www.northlight-images.co.uk/reviews/printer/epson_sc-p600.html and here http://www.northlight-images.co.uk/reviews/printer/epson_sc-p600-setup.html. It will give you a good perspective on the printer and its usage. You should also read the official user manual that comes with the printer, at least the relevant sections.

Number two, install the printer physically. For that, you can use Keith’s guide or the one that comes with the printer. These steps are not too difficult, although I got a few times a very scary error message: “Fatal error. Error code: 011A”, which I still do not know what it means. I just turned the printer off and on again and the machine came back to life. I also had a bit of trouble configuring the wifi, since it could not find the network, but after a few attempts and a few fatal errors, it was there.

Three, use the Epson Setup Navi website (at http://epson.sn) to install and configure the software. You will get all the drivers, software programs and settings that you need. You can also install some of it manually, but I would recommend to run the installation from the Setup Navi site.

This is how it looks in my applications list after the installation, although it may differ from yours:


In case you want to do a manual installation from Epson support website: http://www.epson.co.uk/gb/en/viewcon/corporatesite/products/mainunits/support/13682?searchKey=sc-p

Four, if it is not there already add the printer to Print & Fax, in System Preferences


Now, here it is where I made a very important (although honest) mistake. I want to use my printer via wifi, without cables, and I chose Bonjour/AirPrint, which are Apple generic protocols. As result, I could not launch  Epson Utility 4 program, and even more importantly, I could not chose Epson paper types in the Epson driver, for instance, when I tried to print from Lightroom.

The solution was simple. Just removed the printer using the “-“ symbol icon, and added it again, but this time using the following option: EPSON TCPIP, which uses EPSON SC-P600 Series. The result is what you see in the screenshot above. Notice that after Kind, it reads EPSON SC-P600 Series

This is the error message I got when I had the wrong protocol:

Epson Printer Utility 4 cannot be launched. Check on the following
- The product is turned on
- The product is connected to the computer correctly
- The product is loaded in the printer list box.
If the error is not fixed, Epson Printer Utility 4 is not available for your computer.

Plus the media types / paper types in the selection screen were not the ones I was supposed to get. This is how they look when it is correct:

FA828EFA-62B0-4516-9595-A6AC3BD412AA.png
 

And five, Copy the ICC profiles from Library -> Printers to: Library -> ColorSync following the article below. This way, you can use the default ICC Epson profiles (for Epson paper) in programs such Lightroom, Photoshop, etc. 

http://www.epson.co.uk/gb/en/viewcon/corporatesite/products/mainunits/faq/13682

This is it! Now you should be able to print. The installation and configuration process should be quite easy, but you can be unlucky and run into problems like me.  By the way, I also found that the Epson support chat is quite friendly and efficient, if you even need it.

I am definitely enjoying printing now. Still exploring the options, different type of paper with different type of images. This is so much fun! And an incredible pleasure to see your images printed after your own creative process, with full control over the end results. It is not easy, and for sure not cheap, but in my opinion, totally worth it!

Enjoy!