A few days ago I explained how to install and configure you Epson SC-P600 to be used in Mac OS with Lightroom. Today, I will talk about how to print.
Printing is not difficult per se, but it can be a bit intricate if you want to be very accurate. I will not touch topics such as color correction, spaces and calibration. That is an advanced topic and to be completely honest with you, I am not there yet. And I am not sure I will ever be. I take mostly film and polaroids, and I adjust my pictures by pure instinct. Therefore, I pay little attention to the picture being a little too pink or a little too green or a little too pale. I just leave the print to rest for a few days, and I look a it again when I have forgotten how it looked on the screen. If I like it by then, check! I am happy. Otherwise, I consider where it failed. And most of the times, the problem is not the color not being accurate enough, I am afraid.
But this is what I know, what I learned since I bought the printer, in two sections:
- The printing workflow in Lightroom
- Considerations
Print workflow in Lightroom
While I consider Lightroom to be very intuitive for the most part, the Print module is, let's put it nicely, fallen behind. There are several places where you need to set the right configuration, otherwise something will go wrong. And believe me, then the print is not just a little too pink! This is how I do it:
One. Configure picture (or pictures) layout and select paper size under Page Setup
I always make sure the right size of paper is selected first, under "Page Setup". I may eventually change the type of paper, for instance, if I decide to try a fine art paper instead of a regular photo paper, but at least I want to make sure that whatever I configure is on the basis of the right paper size and whether it should be borderless or not.
Also, pay attention to the different options for paper loading: Sheet Feeder for most photographic papers, and Front for usually fine art paper.


After that, I choose how the image should look printed on the paper. Here is where you can get truly creative. Two images in one paper looks quite cool if they are related. Also one with wide margins. Or the classical full page print. Perhaps I will write an article about this another day.
For this article, I will show this example:

Two. Select and setup the paper type.
There are a few things to remember in this step.
First, make sure the correct paper type is selected under "Page Setup" following the steps above. Notice if you change the paper, for instance, from A4 to A4 Borderless, the layout for the image may change and you will have to adjust it again.
And second, adjust the "Print Settings"
- Layout: One page per sheet, no border
- Color Matching: It should be greyed out, being ColorSync selected
- Paper Handling: I never print more than one picture at the time, so I do not worry about this part
- Cover Page: None
- Print settings: Here you need to select the correct Media Type, that matches the paper you are using, including the Print Quality. See notes on Media Type below.
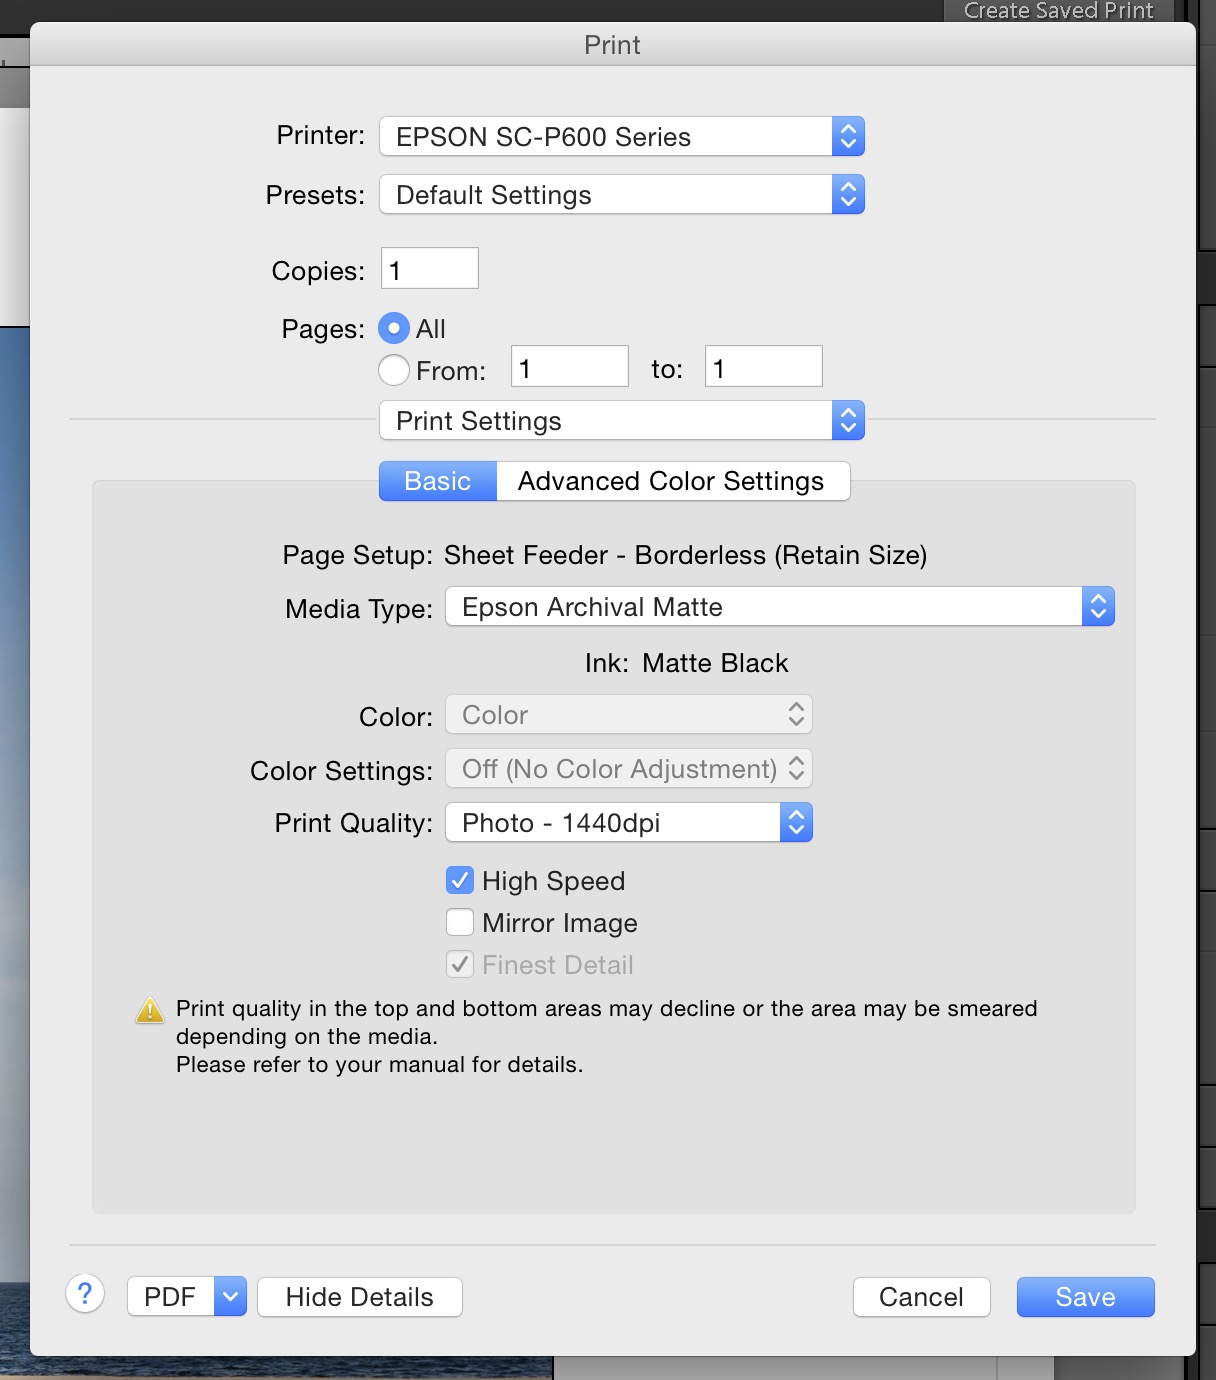
- Paper Layout Settings: Nothing to configure here, unless you use roll paper, I guess
- Paper Configuration: I would not know what you configure here
Three. Setup the Print Job.
We are almost printing now! But before you can press print, you need to setup the Print Job. This means you need to tell Lightroom you want to print to a printer (you could also print to jpg).
Besides that, you need to configure the Print Sharpening settings according to the Media Type. Here I leave it to Low for Matte paper.
Finally, you need to choose the right ICC profile under Color Management. This is very important, otherwise, Lightroom will mess up the colors. Now, whether the Indent should be Perceptual or Relative.. I have read several articles and I am still not clear. Take your pick. Try and error.

If you click on "Printer.." you will see the same dialog as you already configured in step number Two. Take a look.
And four. Print!
Load your printer with the right paper in the right place. And press Print! You beautiful picture is being created!
